I’ll admit it: I’m not a baker by any stretch of the imagination. But this past week I gave baking a proper try—and according to Maria, I’ve been pretty successful so far. Last weekend (if you follow my social pages, you saw it) I made some pretty spot-on orange/cranberry scones. Later in the week I kicked it up a notch with pumpkin + espresso dark-chocolate-chip cookies that went so fast I couldn’t even get a proper photo! And then yesterday I decided I wanted a panini for dinner—so why not make the bread that makes the sandwich?
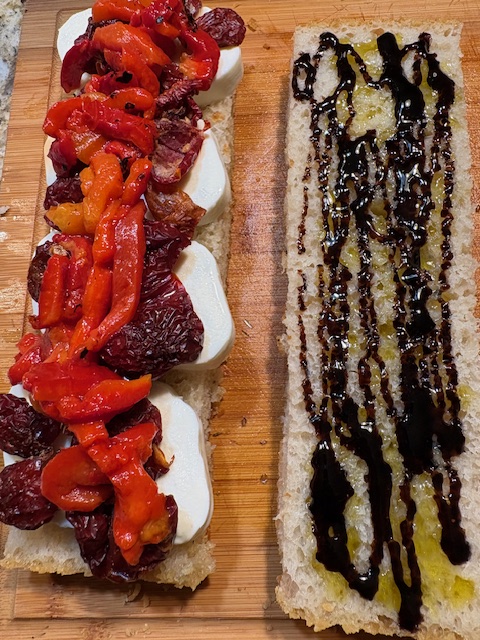
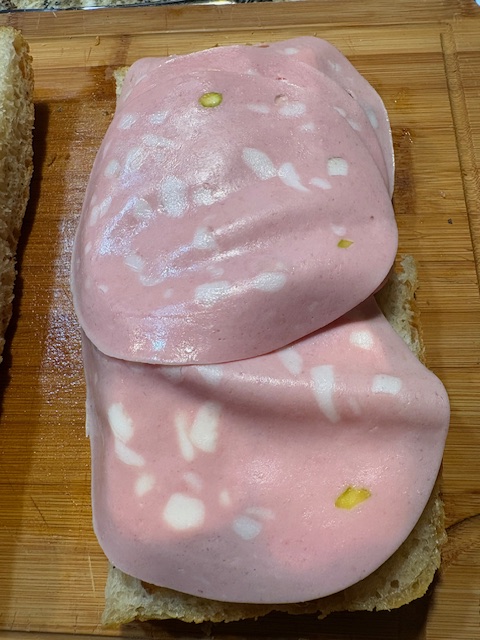
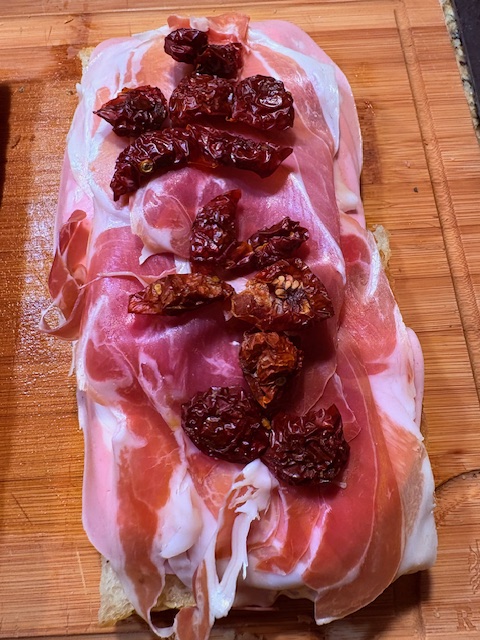
I’ve made this particular bread before, and my kids love it. My recipe is pretty simple and can be made kneaded or no-knead, depending on how much of an upper-body workout you want that day. The panini part? That’s all up to your creativity. Olivia was home so we made three. Maria’s was sun-dried tomato, roasted red peppers and fresh mozzarella with a balsamic glaze on top (she felt maybe just a handful of arugula or spinach would’ve been the only thing missing). Olivia and I, being carnivores, went with mortadella, prosciutto, fresh mozzarella—and I added the balsamic glaze (because it looked really good on Maria’s focaccia) topped with fig jam (the little extra something) and sun-dried tomatoes. Boy, was it good.

This week I’m highlighting how to make your own focaccia, and the panini part? That’s yours. But first—let’s slow down and give a little history to the bread and the sandwich so you appreciate what you’re about to bake.

A Brief History of Focaccia
The flatbread you’re baking is more than dinner—it’s part of a long, delicious lineage. Most historians believe it originated with either the Etruscans of north-central Italy before the Roman Empire or even earlier in ancient Greece. The name itself comes from the Latin panis focacius, meaning “hearth bread” — referencing the bread’s original method of being baked on or near the hearth. Traditionally it was a quite plain mix of flour, water, salt and olive oil, cooked by laborers and everyday folks. Over time, especially in Liguria (around Genoa), the version became what we love today: rich in olive oil, dimpled, aromatic and a delicious flatbread.
So when you bake focaccia yourself, know you’re part of a long, delicious tradition.
The Story of the Panini
If focaccia is the venerable bread, then the panini is its lunch-box cousin that became cool. The word “panini” is the plural of the Italian panino (meaning little bread roll) — derived from pane (“bread”). The sandwich’s modern form is rooted in 1960s Lombardy, Italy, where sandwich bars (paninoteche) served quick delicious bites for workers. In fact, while filled bread has been around since at least the 16th century, the panini’s global popularity kicked off in the 1970s and 80s.
Essentially: you’ve got a venerable bread tradition plus a pressed, creative sandwich culture. And here we are—baking focaccia at home, then filling it with Italian meats, cheeses, roasted veggies, fig jam, balsamic glaze—what a combo.
Why Bake Your Own
- You control the ingredients (hello, olive oil + a little salt = pure magic).
- You build confidence in bread-making (yes, you can do this even if you don’t think of yourself as a baker).
- You elevate your sandwich game—the fresh focaccia you produce makes the panini pop.
- And you bring together a family-style experience (my kids love it when I make the bread; Olivia and I enjoyed crafting our carnivore version; Maria got her veggie/cheese version).
So stick with me this week as I take you through the focaccia recipe step-by-step—how to make it (kneaded vs no-knead), how to prep the dough, how to bake it so it’s golden, olive-oily, crisp on the outside and tender inside. Then I’ll jump into panini variations—you choose your fillings, you press it, you eat it.


Recipe: Homemade Focaccia
Ingredients:
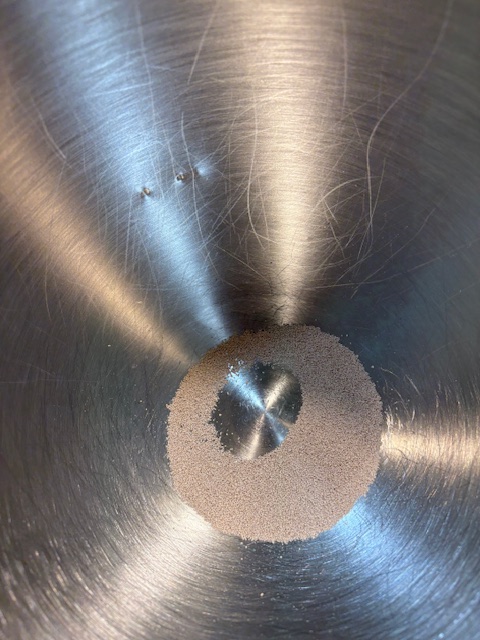
- 1 envelope (¼ oz) active dry yeast
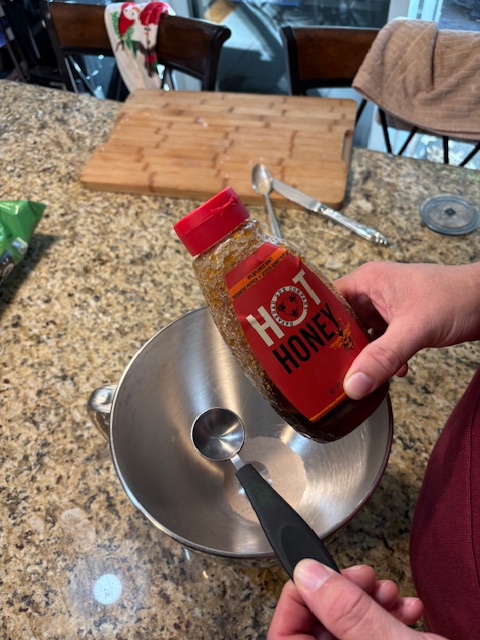
- 2 tsp hot honey (regular honey works too)
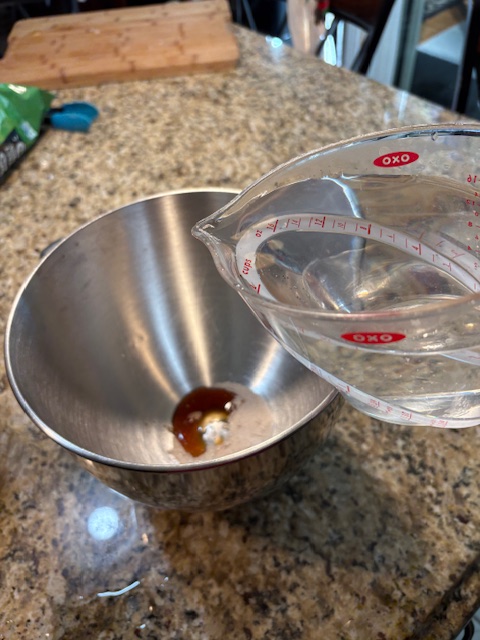
- 2½ cups lukewarm water
- 5 cups bread flour (or all-purpose flour)
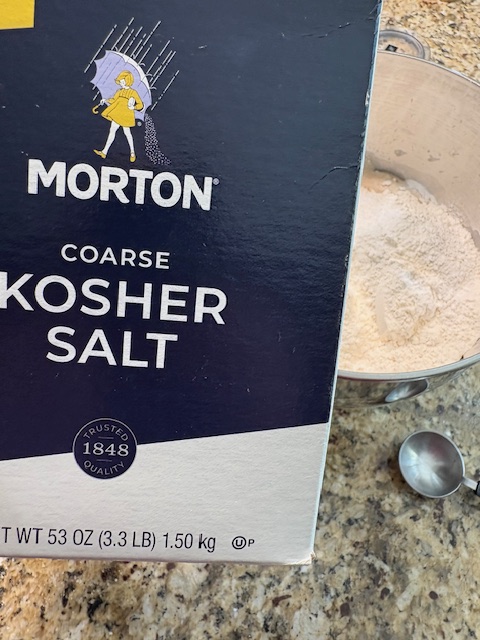
- 1 Tbsp Morton kosher salt
- 6 Tbsp extra virgin olive oil, divided
- 4 Tbsp unsalted butter + more for the pan
- Flaky sea salt (for topping)
- Italian seasoning (for topping)


Directions:
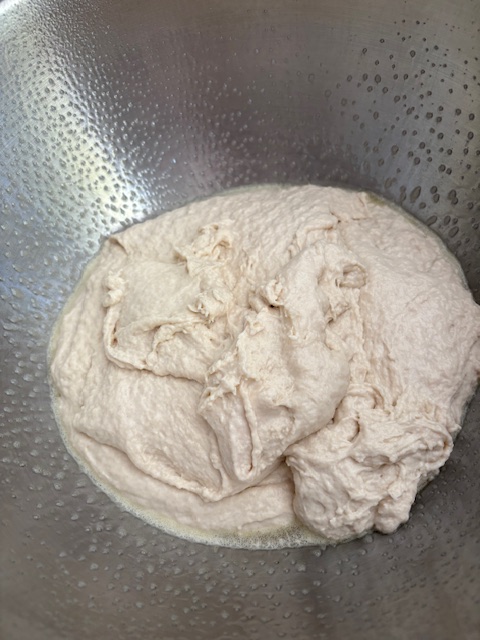
- In a medium bowl (or KitchenAid), whisk the yeast, honey and 2½ cups lukewarm water. Let it sit 15 minutes to bloom (if it doesn’t foam after ~5 minutes, the yeast may be dead!).
- Add the 5 cups flour and the salt; mix until a shaggy dough forms and no dry flour remains. Choose your path:
- Kneaded method (faster rising): After the dough comes together, knead by hand or mixer for about 5–10 minutes until the dough is smooth and elastic. Because kneading builds the gluten network quickly, the dough will rise faster—at room temperature it may double in ~3–4 hours.
- No-Knead option (less effort, longer time): Skip the manual kneading and simply turn the dough into an oiled bowl for its first rise. Because gluten development happens passively (via time instead of mechanical kneading), you’ll need a significantly longer first rise—at room temperature this might take 8–12 hours, or longer if chilled.
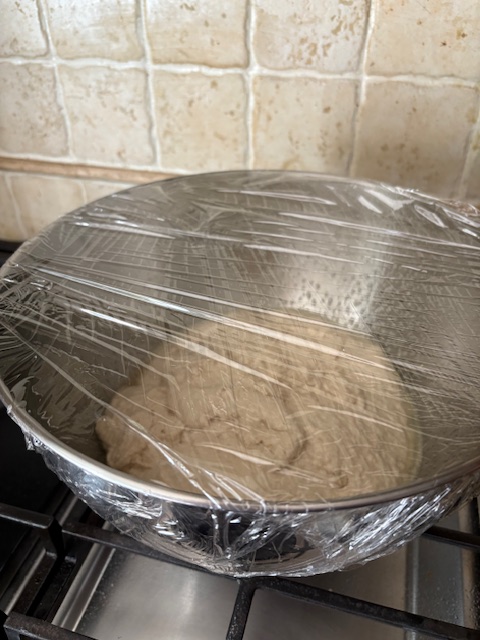
- Pour 4 Tbsp olive oil into a large bowl and transfer the dough into it. Turn the dough in the oil to coat. Cover with plastic wrap or a kitchen towel and let rise until doubled:
- If kneaded: ~3–4 hours at room temperature.
- If no‐knead: ~8–12 hours at room temperature, or longer if refrigerated.
- Generously butter a 13″ × 9″ baking pan (for sandwich-thick version) or an 18″ × 13″ baking sheet (for thinner, crisp version). Don’t forget the butter—otherwise the bread will stick.
- Pour 1 Tbsp extra-virgin olive oil into the center of the pan and brush the bottom. Place the dough into the center. Stretch it toward the corners (don’t worry if it doesn’t reach; it will rise again). Let rise uncovered somewhere warm for ~1½ hours (no more than 4 hours).
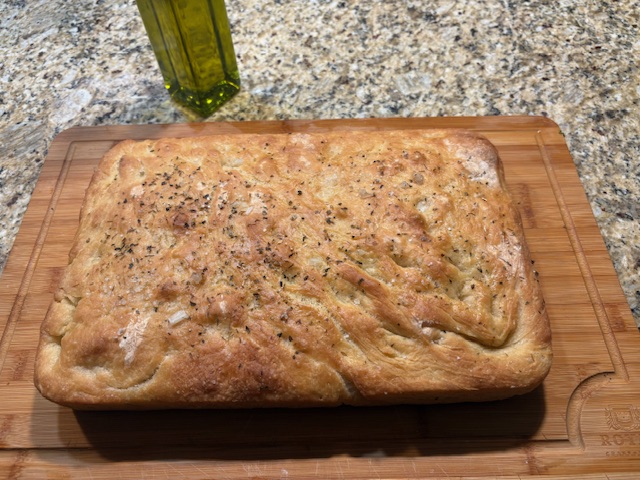
- Preheat oven to 450 °F. Using your fingers, dimple the dough all over to create deep depressions. Drizzle the remaining olive oil over the top; sprinkle with flaky sea salt and Italian seasoning (you can add anything you like: olives, garlic, sundried tomatoes…).
- Bake for 20–30 minutes until the bread appears puffed and golden brown. Just before it’s done, melt some more butter and (if you like) sauté garlic about 30–45 seconds to add a garlicky-buttery finish. Brush this on top of the bread right when it comes out of the oven.
- Let the bread cool slightly, then slice up and use as the base for your panini or serve for tearing and dipping.

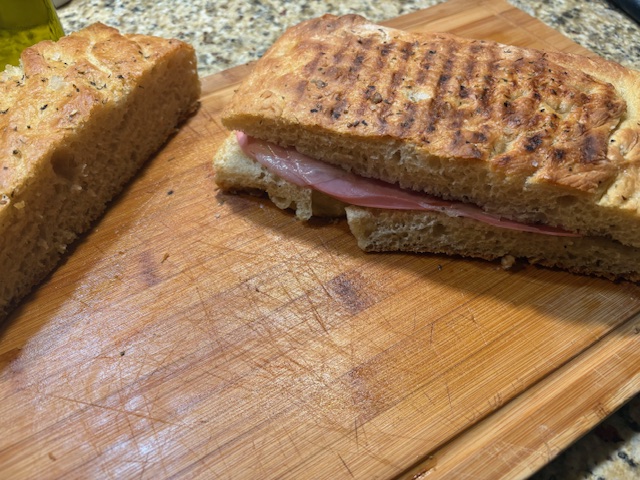

So, there you have it: my little bread‐and‐sandwich adventure. I hope you’ll enjoy baking the focaccia (and then building your custom panini) as much as we did. Stay tuned for more next week as we have another Skriventure in the works!!
Let’s bake some bread, build some sandwiches, and celebrate good food with good company.

Leave a comment